Getting Started with Kong API Management

Hello Tech Enthusiasts 👋,
With the growing demand for API management tools and applications, you might have started hearing about Kong API Management more often. So, I thought—why not start learning about it and share my knowledge with you all? Since I’m still in the early days of exploring it, I’ll keep updating this article as I learn new things. This article primarily focuses on those who want to get started with Kong.
But before starting with Kong, I’d suggest to get some understanding on API-Management.
To understand Kong, we first need to explore the different products it offers. But before that, let’s quickly understand the core principles on which Kong is built:
Control Plane: As the name suggests, it manages all aspects of the API lifecycle and related processes. It acts as the management layer, where developers define services, and administrators handle infrastructure, access control, and API lifecycle management.
Data Plane: This is responsible for hosting APIs and handling application traffic, often referred to as the API Gateway. In principle, even if the Control Plane goes down, existing API traffic remains unaffected. However, new deployments or configuration changes won’t take effect until the Control Plane is restored.
All the products and offerings by Kong are based on above key params. The following products are the key products for the start:
- Kong Konnect - This is SaaS based control-plane which is completely managed by Kong. This is by far easiest way to manage and install. In the upcoming article, I’ll be covering all development and tutorials using Konnect.
- Kong Gateway Enterprise - This offering is for customers who’d like to manage both Control-Plane and Data Plane within their own infra (predominantly on-prem).
- Kong Ingress Controller - This offering is for managing the Kong Gateway installed on Kubernetes cluster.
- Kong Mesh - Enhanced version of Kuma for managing the microservices. It offers enterprise level security and governance
Step 1 : Sign up to Kong Konnect
At first, login and Sign-up to Konnect to access free learning for 30 days. You can sign-up using Google/Github/Microsoft or use email and password.
When signing up in Kong Konnect, few considerations to be made:
- Region: The region is where we need to host our SaaS control-plane. This would vary if we switch our region as all artifacts are regional specifics except user-access accounts as it’s global.
- Organization: The principle behind organization is the topology where we can create environment based segregation and in case many domain within parent group, segregation based on business-unit.
After login, the landing page should look like below:
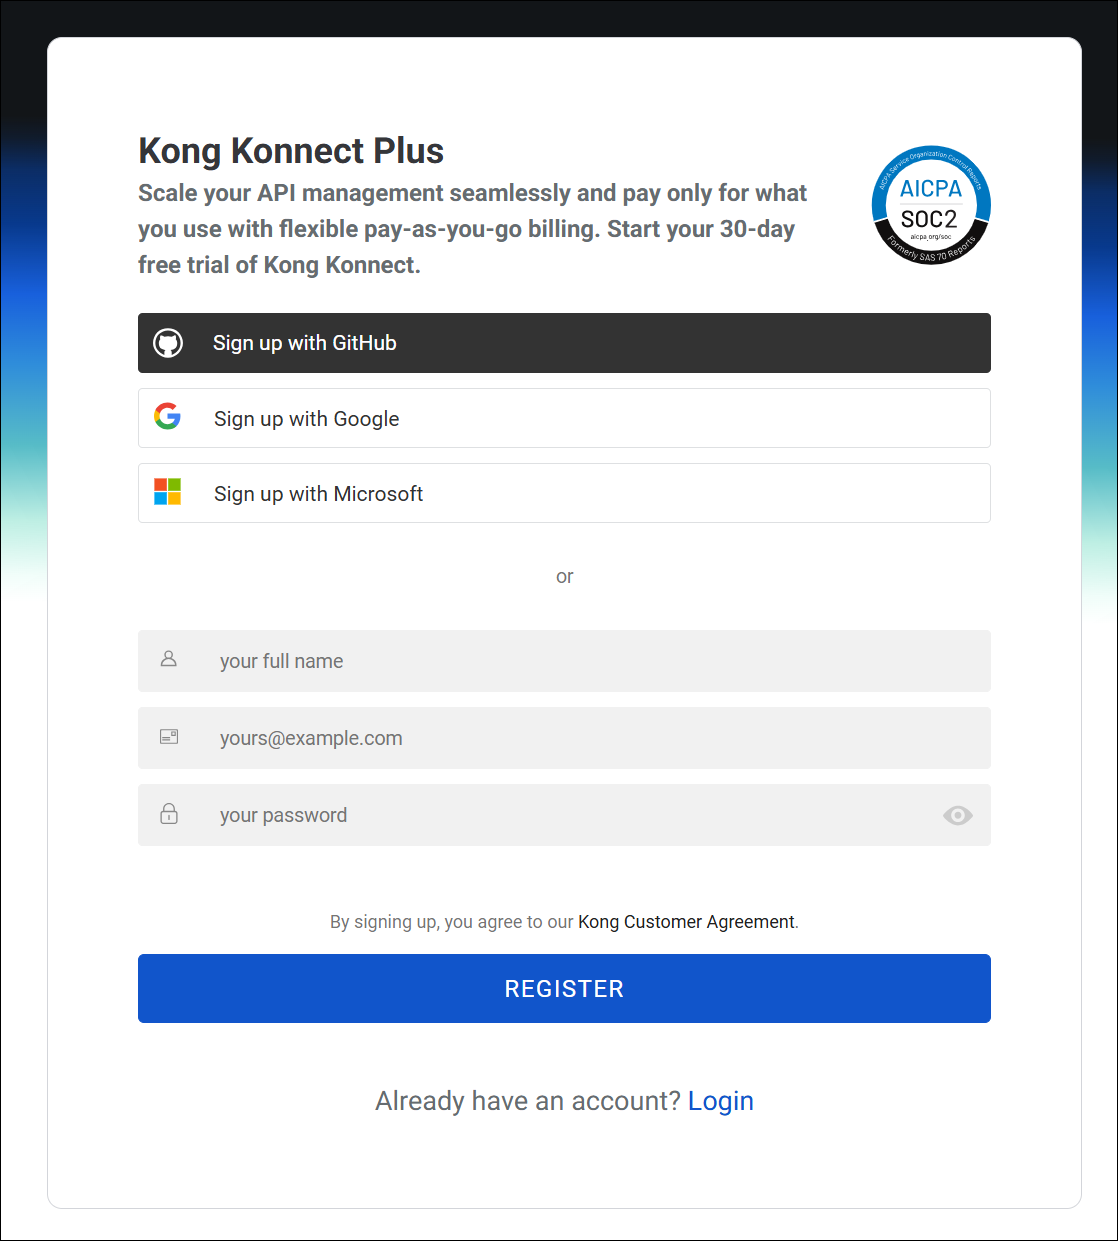 Sign-Up Page
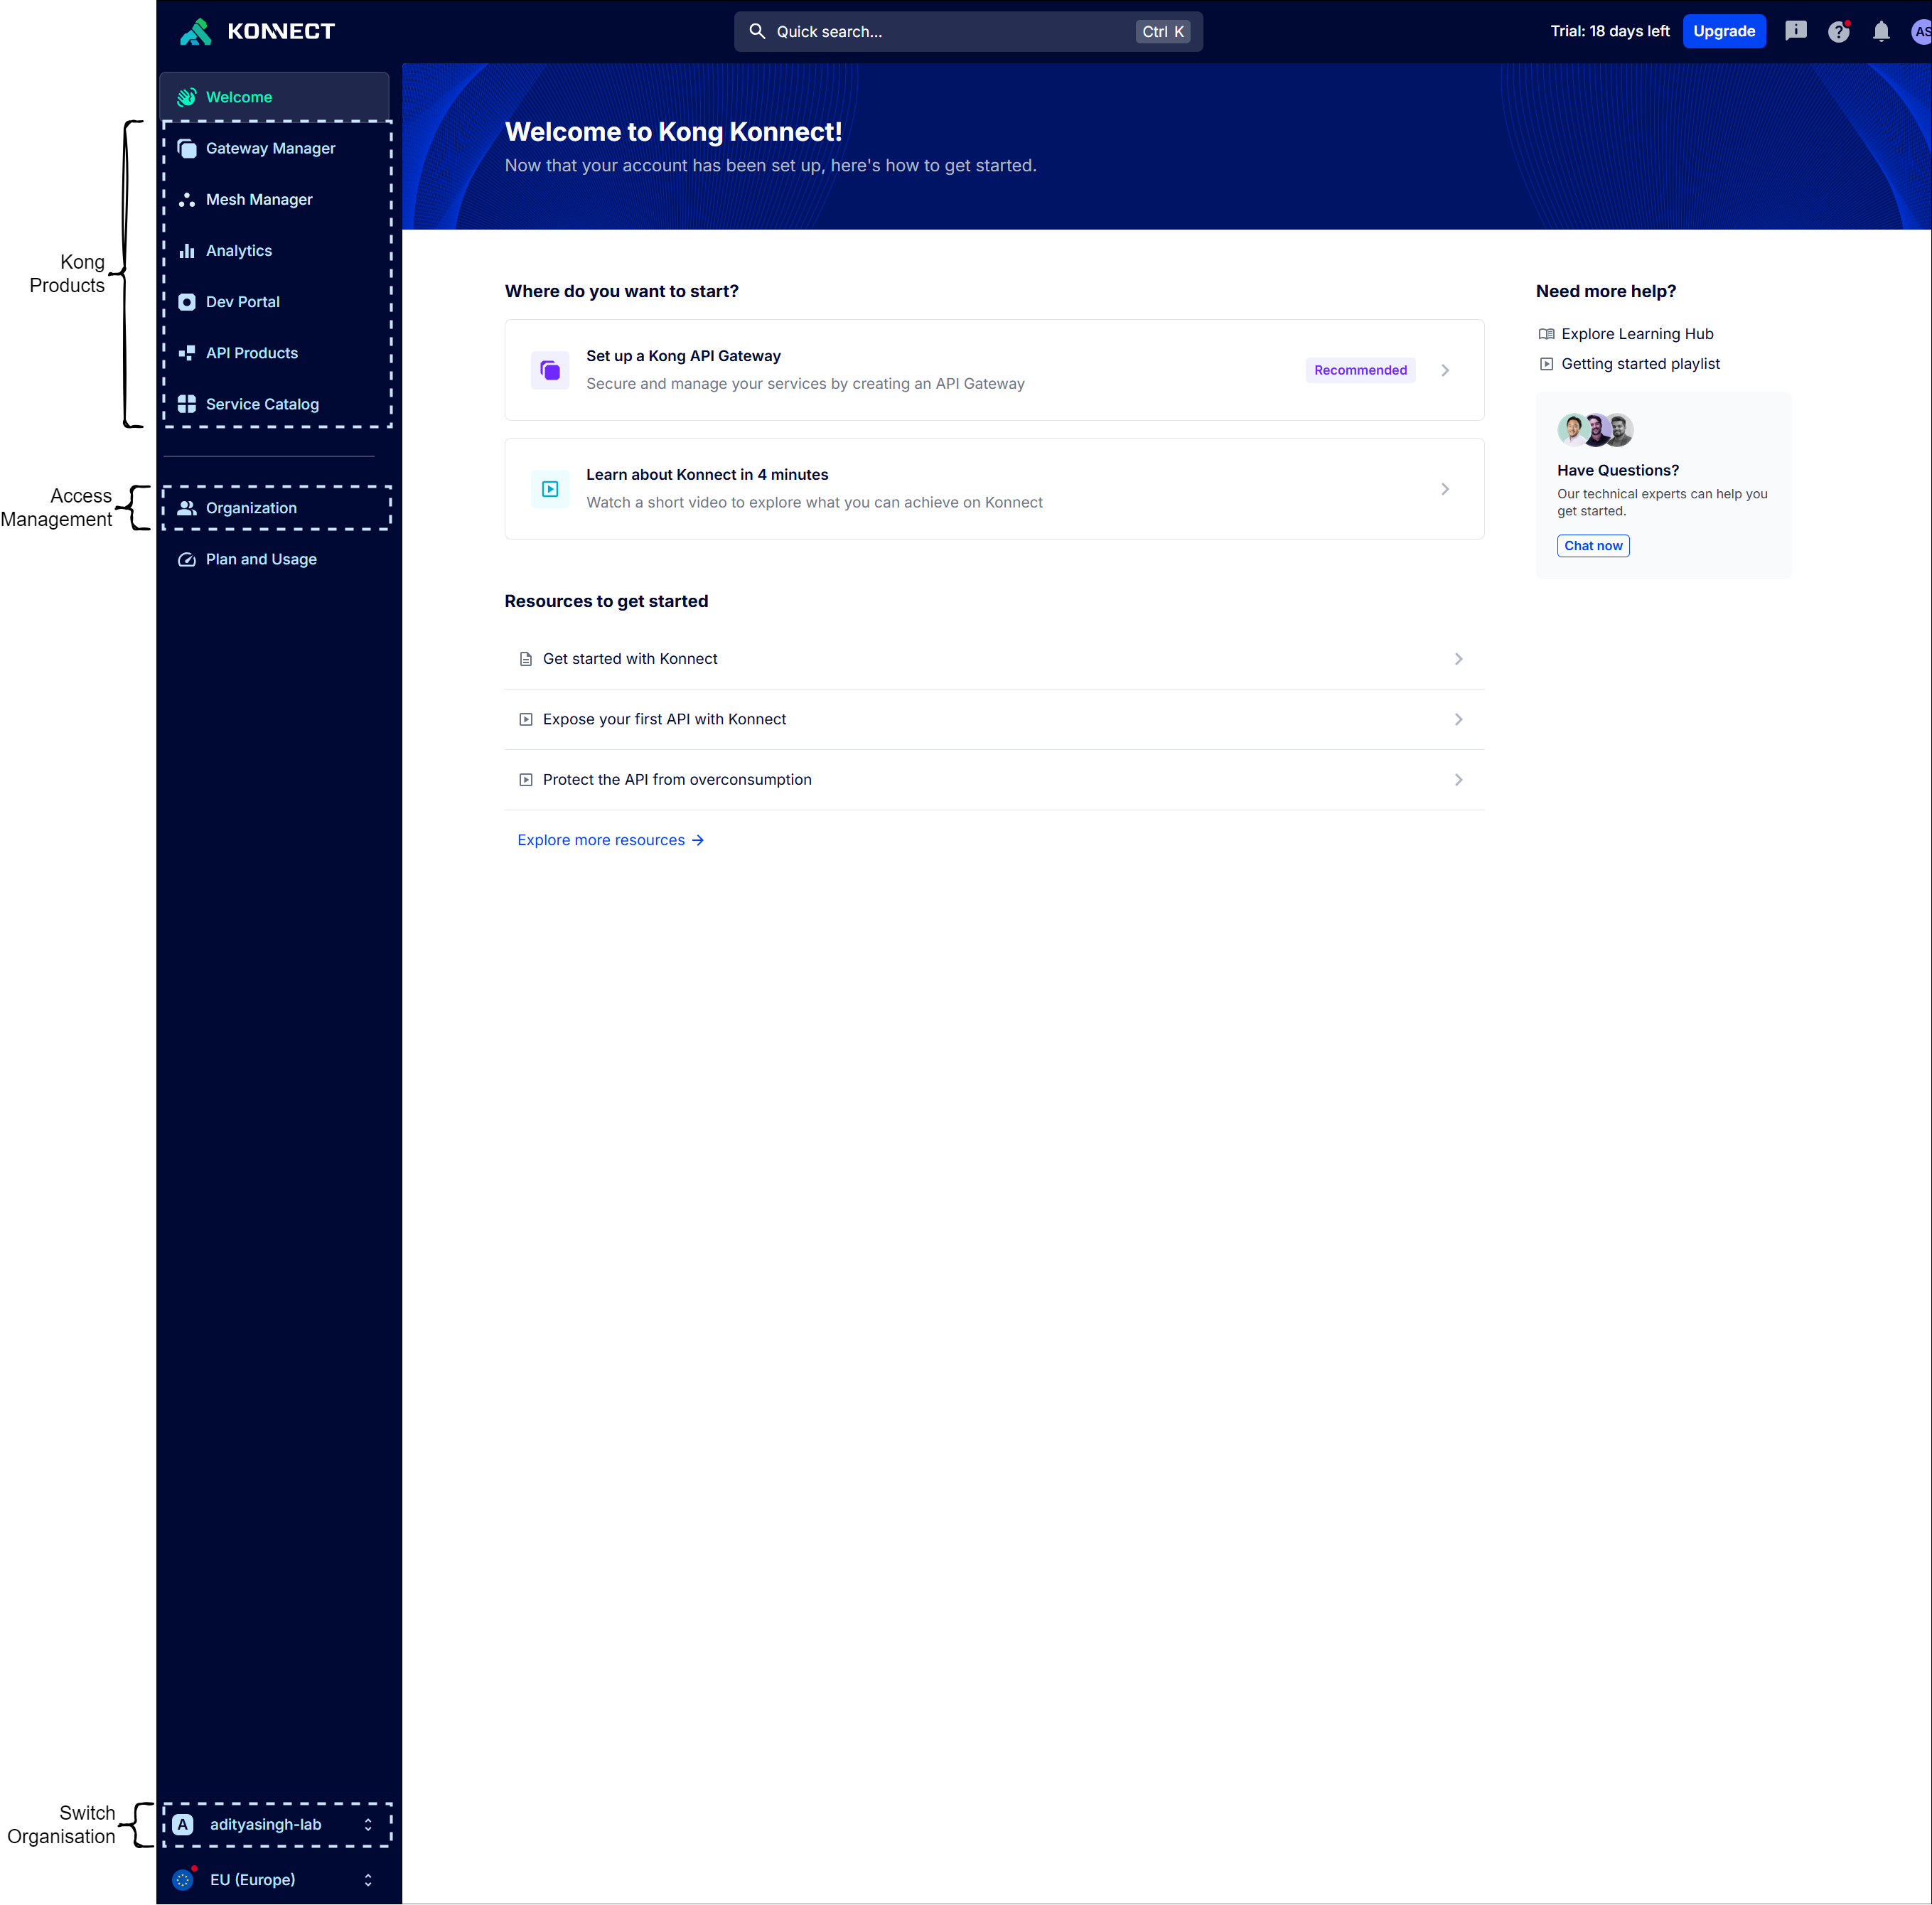 Main Landing Page
As we can see from the landing page above, the first object that should be configured is Gateway instance as Data Plane. Kong provides four method, two being managed by Kong while other by us. I’ll explain both in quick. On the Gateway Manager, click ‘+ Create a gateway’
- Kong hosts in the cloud
- Serverless : This instance is cheapest and easiest way to configure with Kong being controlling the Data-Plane. While, this is easiest, most industries would prefer the other options as managing their own Data Plane traffic. Kong does allows us to add our own domains.
- Dedicated Cloud: This offering offers an easiest manner with choice of our own cloud preference (Azure, AWS) and network preference.
As of Feb 2025, GCP is currently not available as part of Dedicated cloud offering
- You host in your environment
- Self-Managed Hybrid: This methods allows us to install and manage our Kong Gateway as Data Plane in our own infra (On-Prem/Cloud).
- Kubernetes Ingress Controller: This method is dedicated for Kong Gateway installed on Kubernetes cluster.
Step 2: Create Gateway Instance
For a start, I’m creating gateway instance using serverless cloud offering. Following screenshot would explain on its own:
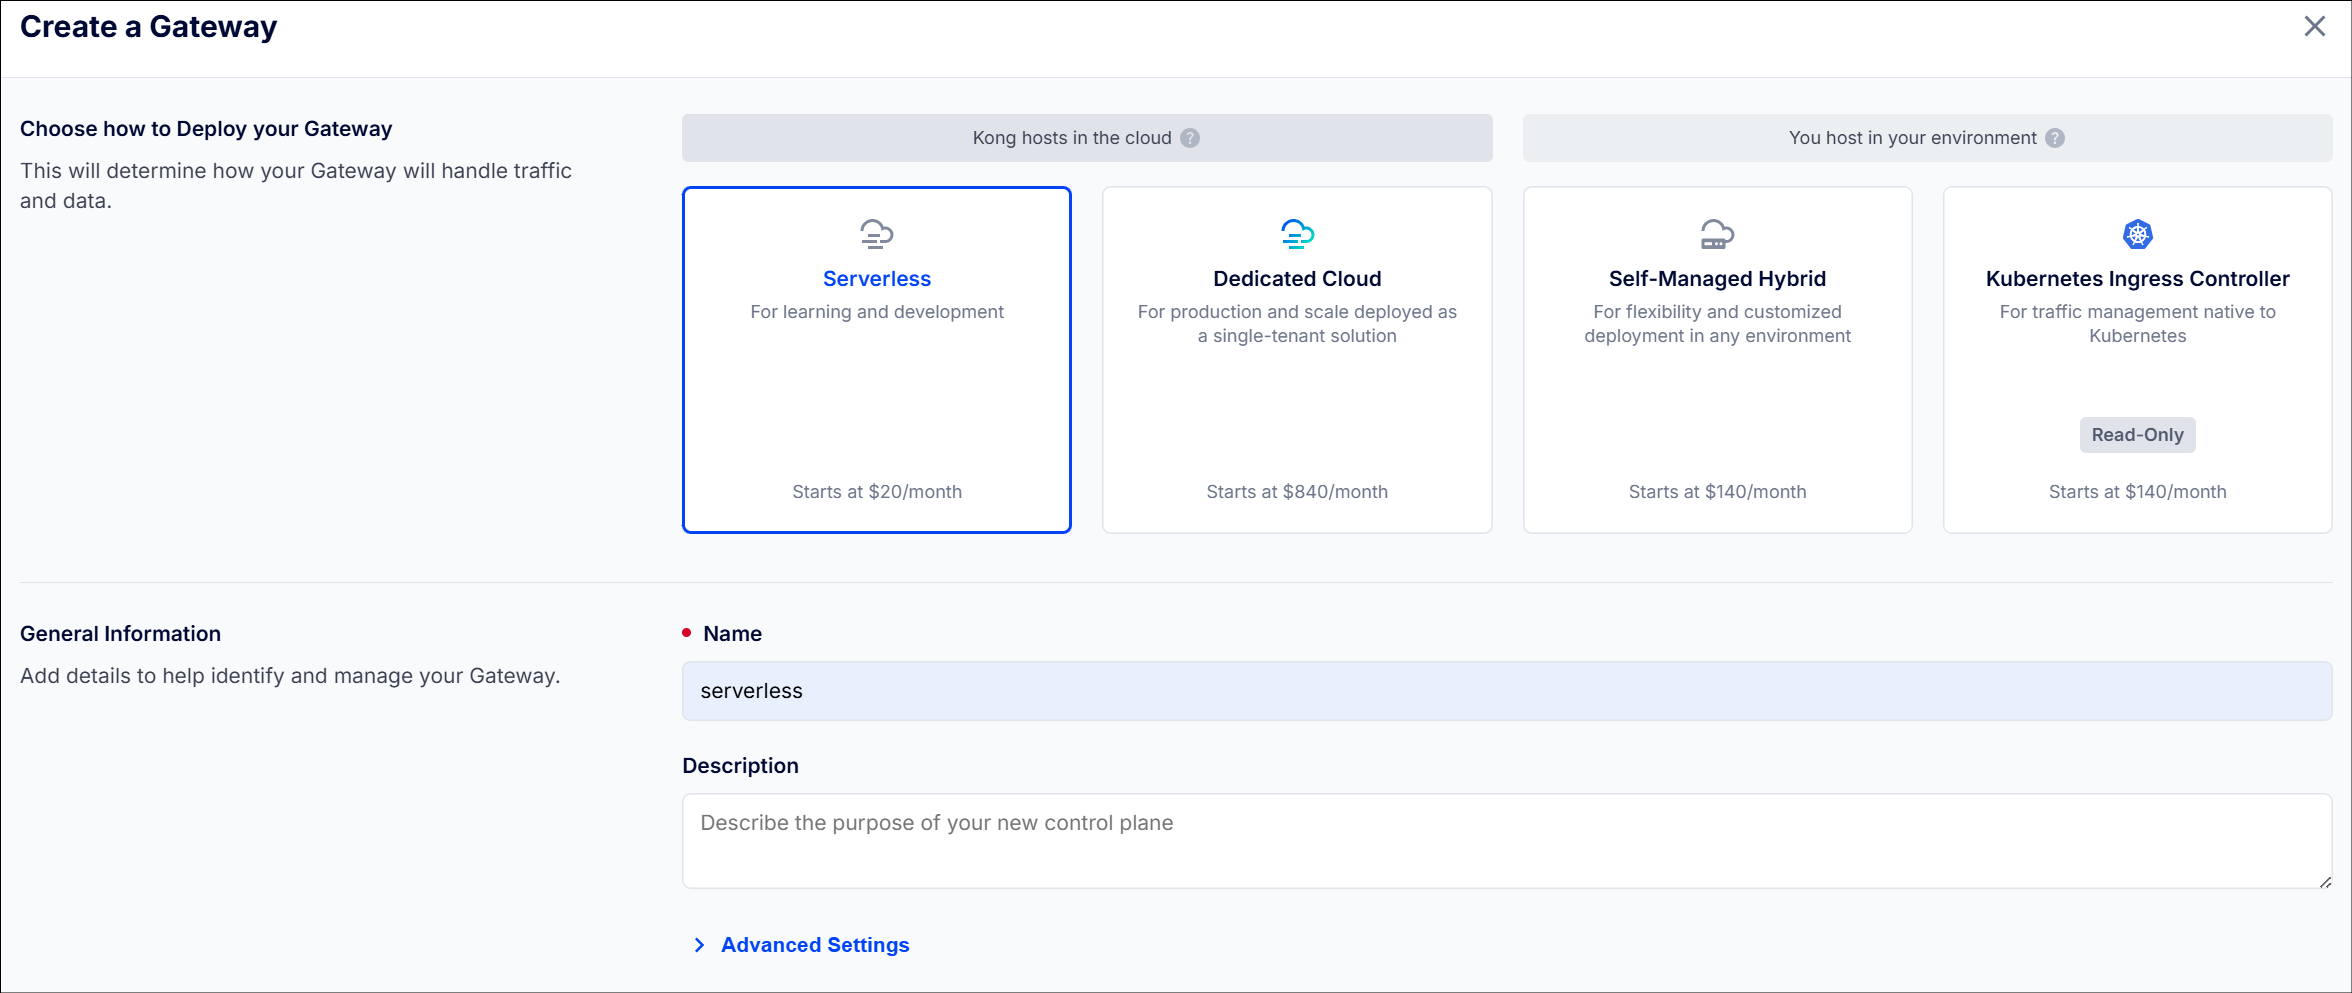 Create ServerLess Gateway Instance
Step 3 : Create first API
To create first proxy service, navigate to Gateway Manager > Serverless > Gateway Service, and then click ‘+ New gateway service’ and follow the screenshot below. I’m using https://httpbin.org/anything as the backend proxy call.
New Gateway Service
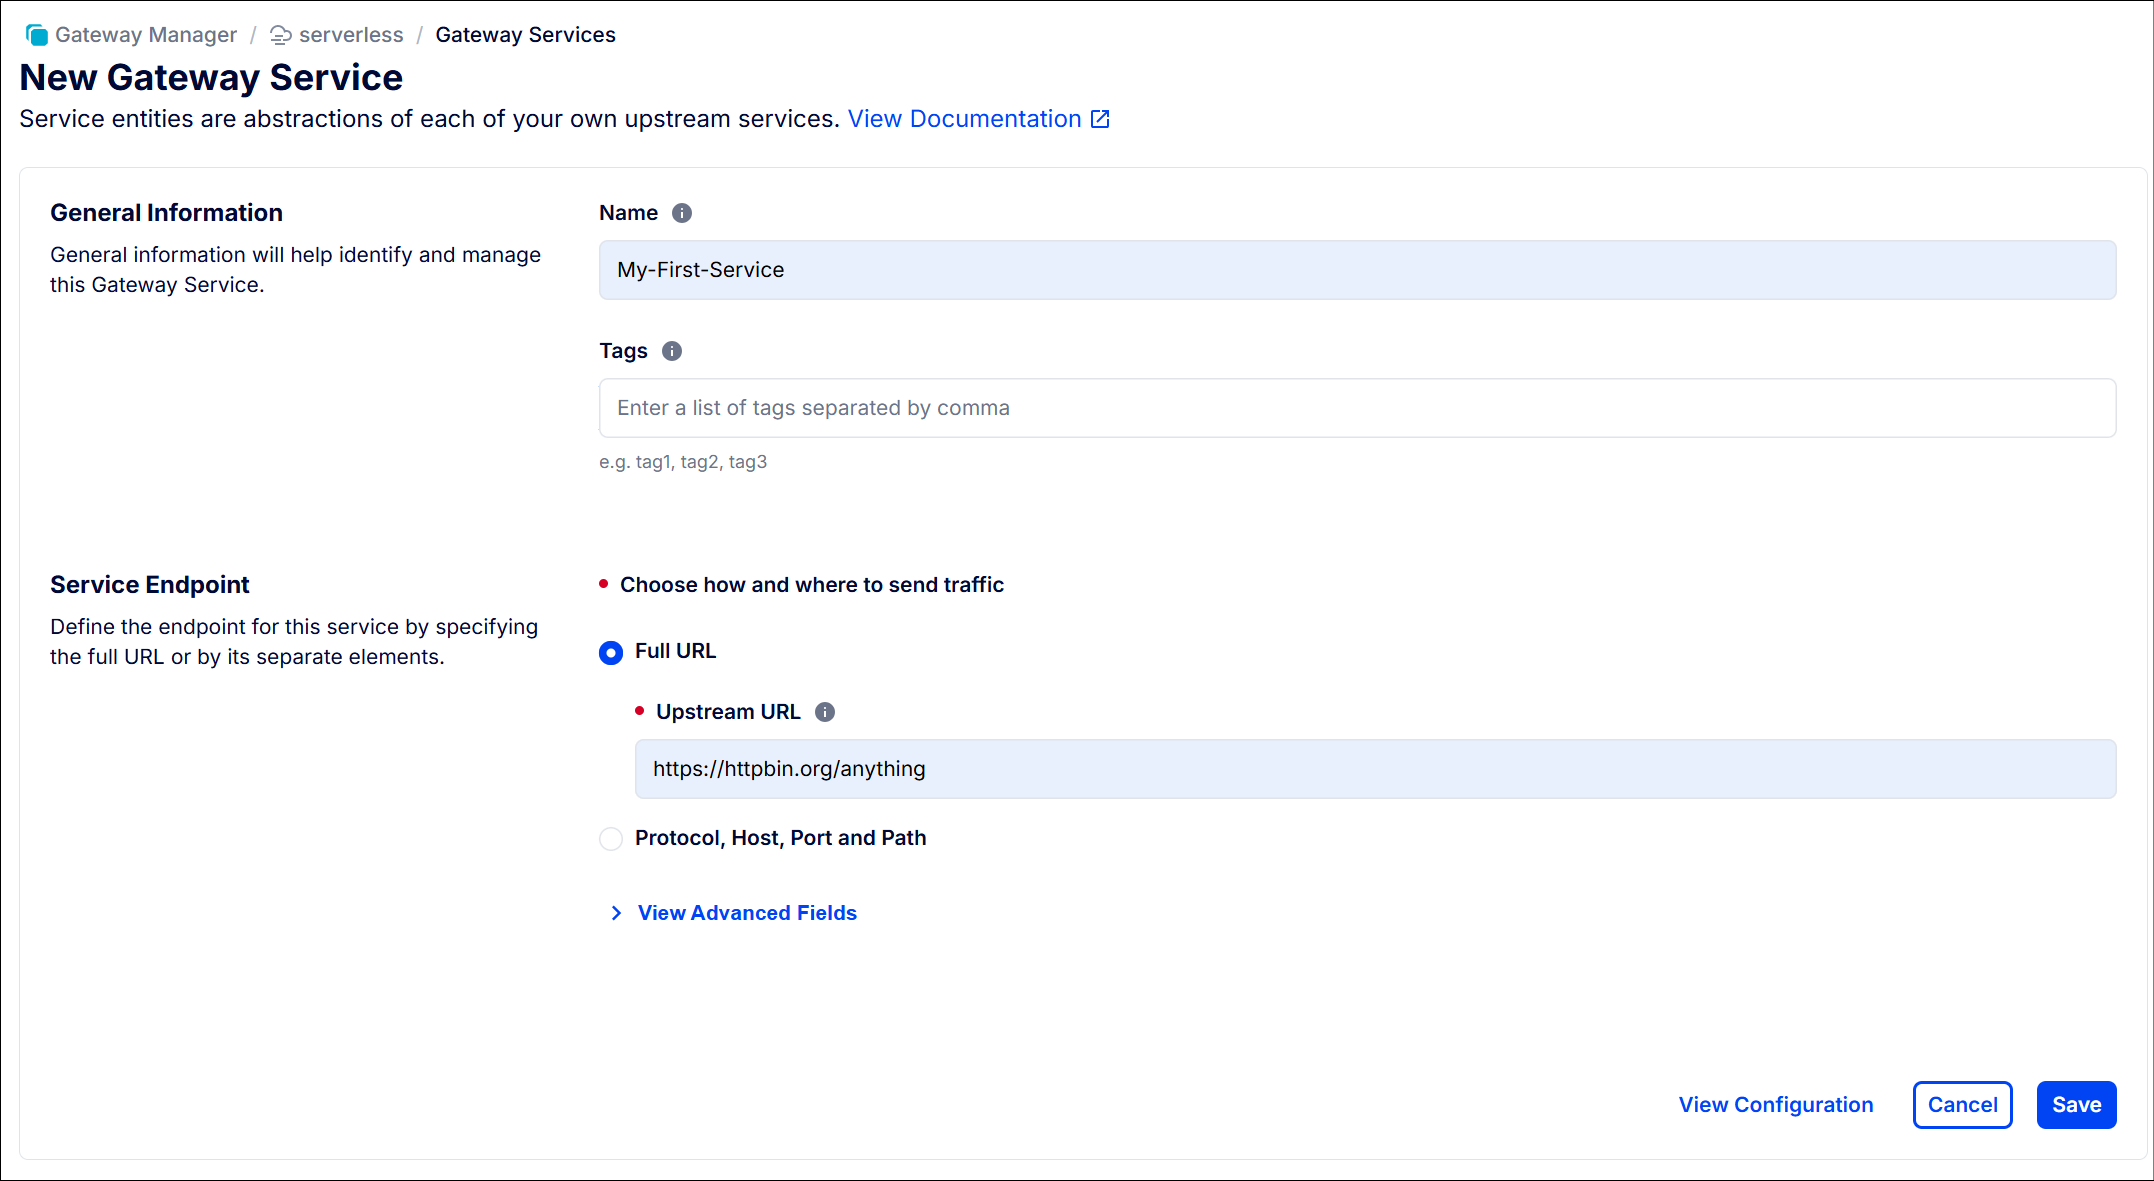 Gateway Service First Form
Configure Routes
 Routes
Routes can be added separately as show above or can also be added through gateway-service routes.
Test the service
The URL for the service can be fetched from the Routes as show below.
 URL from Routes
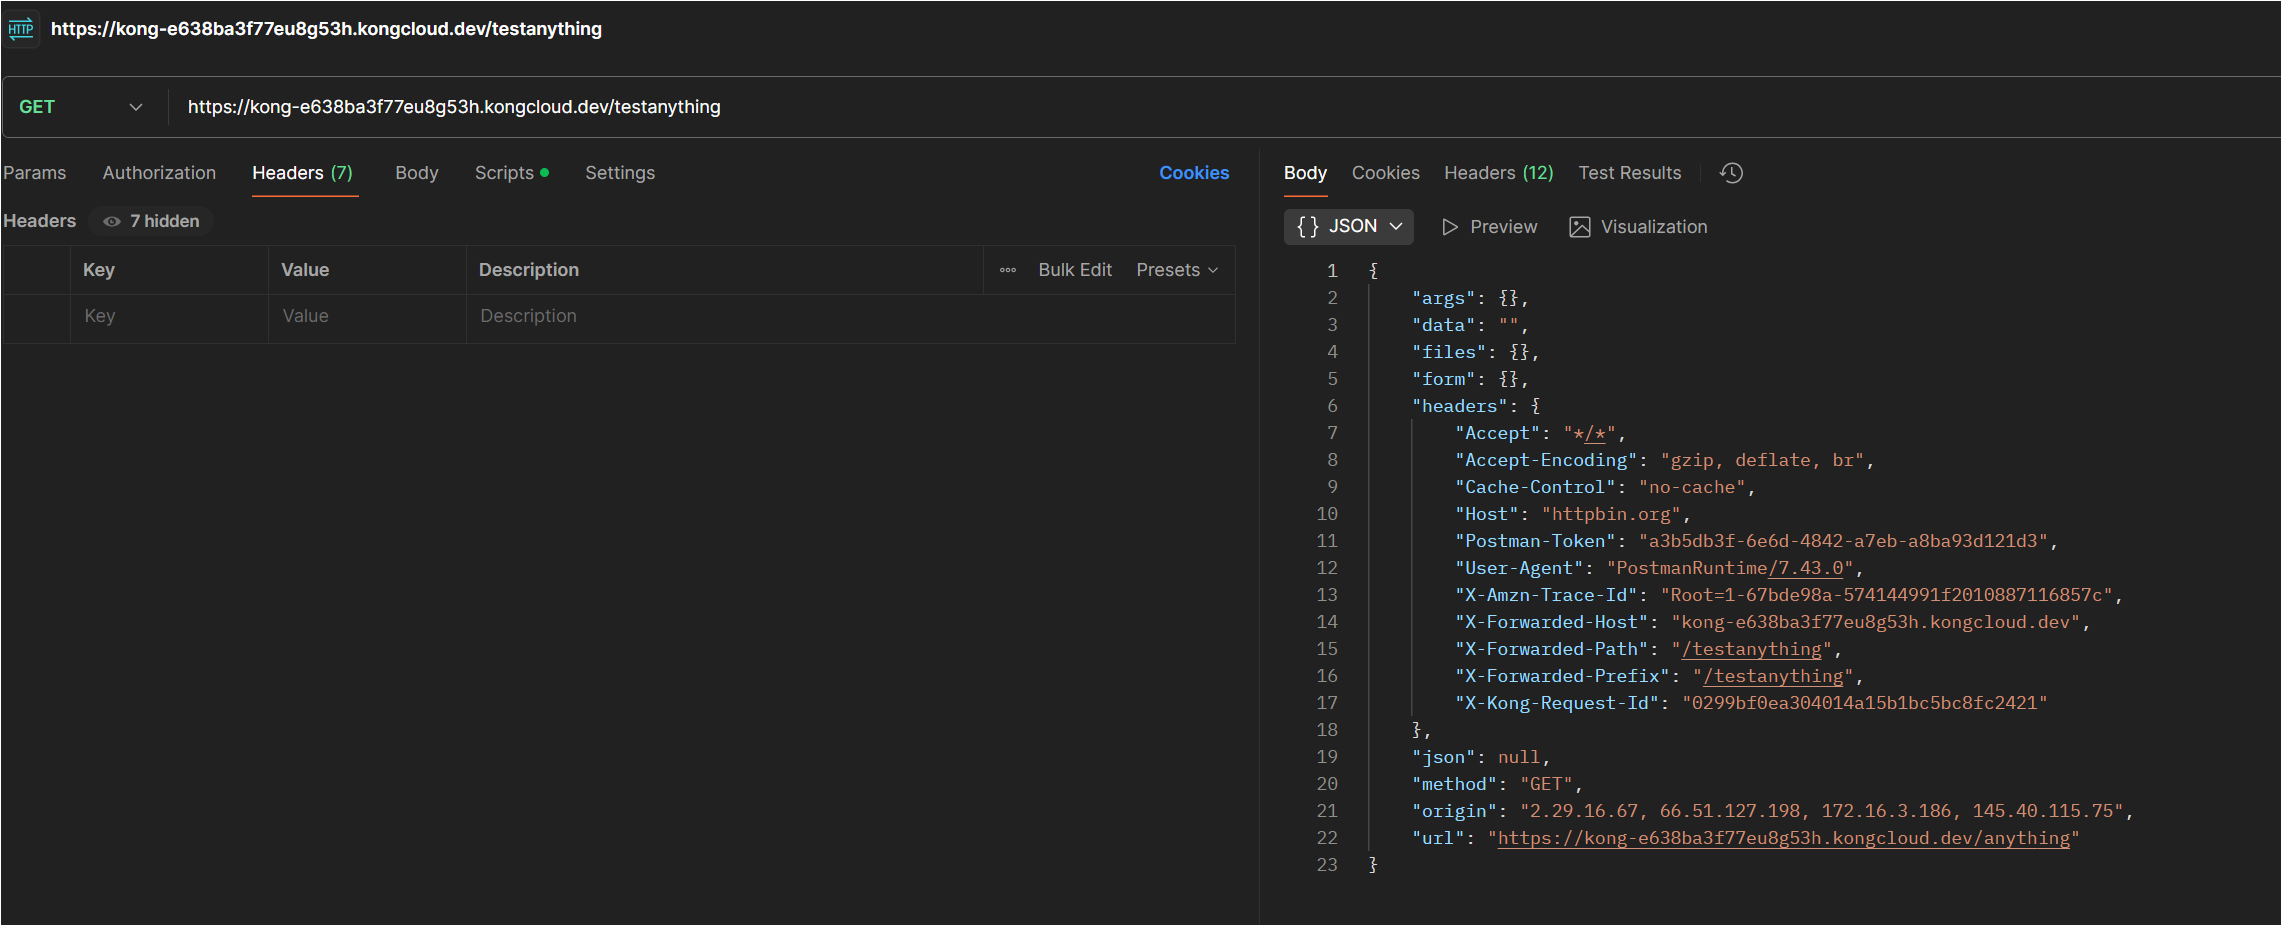 Postman Test
Please do let me know your thoughts and any question in comments.
— Keep Learning 😊
— Aditya Singh
If this article helped you in someway and want to support me, you can …
